Call Now: Free Estimates(612)-987-1566
    How to Paint Kitchen Cabinets (and When to Hire a Pro)
    ← Back to Blog

    How to Paint Kitchen Cabinets (and When to Hire a Pro)

    August 7, 2026 Mike Webster

    The honest version of a job everyone underestimates

    You want to paint your kitchen cabinets, and you're trying to figure out whether it's a weekend project or a job to hand off. Here's the straight answer from someone who's done it both ways: the painting part is easy. The prep and the finish are where cabinet jobs live or die, and both are harder than any video makes them look. I'm Mike Webster, and I've been finishing cabinets and trim across the Twin Cities since 2000. Below is the exact process we follow, plus the specific points where a DIY job tends to fall apart.

    The counter-intuitive part most guides skip: cabinets don't fail where you paint them. They fail at the touch points. The edge of the door by the handle, the rail under the upper cabinets, the stile next to the trash pull. That's where hand oils and daily abrasion concentrate, and it's exactly where weak prep and the wrong paint peel first. Get those spots right and the rest of the kitchen follows.

    How to paint kitchen cabinets: the full process
    Start to finish, a real cabinet repaint runs five stages: degrease, sand and scuff, prime, sand again, then two coats of enamel. On a standard kitchen we spread that over three to four days because the enamel needs real cure time between coats, not the twenty minutes the can suggests when it's humid. First, pull every door and drawer front and label the back of each with painter's tape so they go back on the same hinge. Next, degrease everything with a strong cleaner. Kitchen cabinets carry a film of cooking grease you can't always see, and paint will not bond to it. Then scuff-sand every surface with 220-grit to give the primer a mechanical grip, wipe the dust, prime with a bonding primer, sand lightly again, and finally lay down the enamel. We spray ours so there's no brush texture, but a foam roller and a good brush can work if you're patient and you tip off each pass. For the finish itself, we treat cabinets the same way we treat all our enameling work: a hard, washable film built for surfaces that get handled every single day.
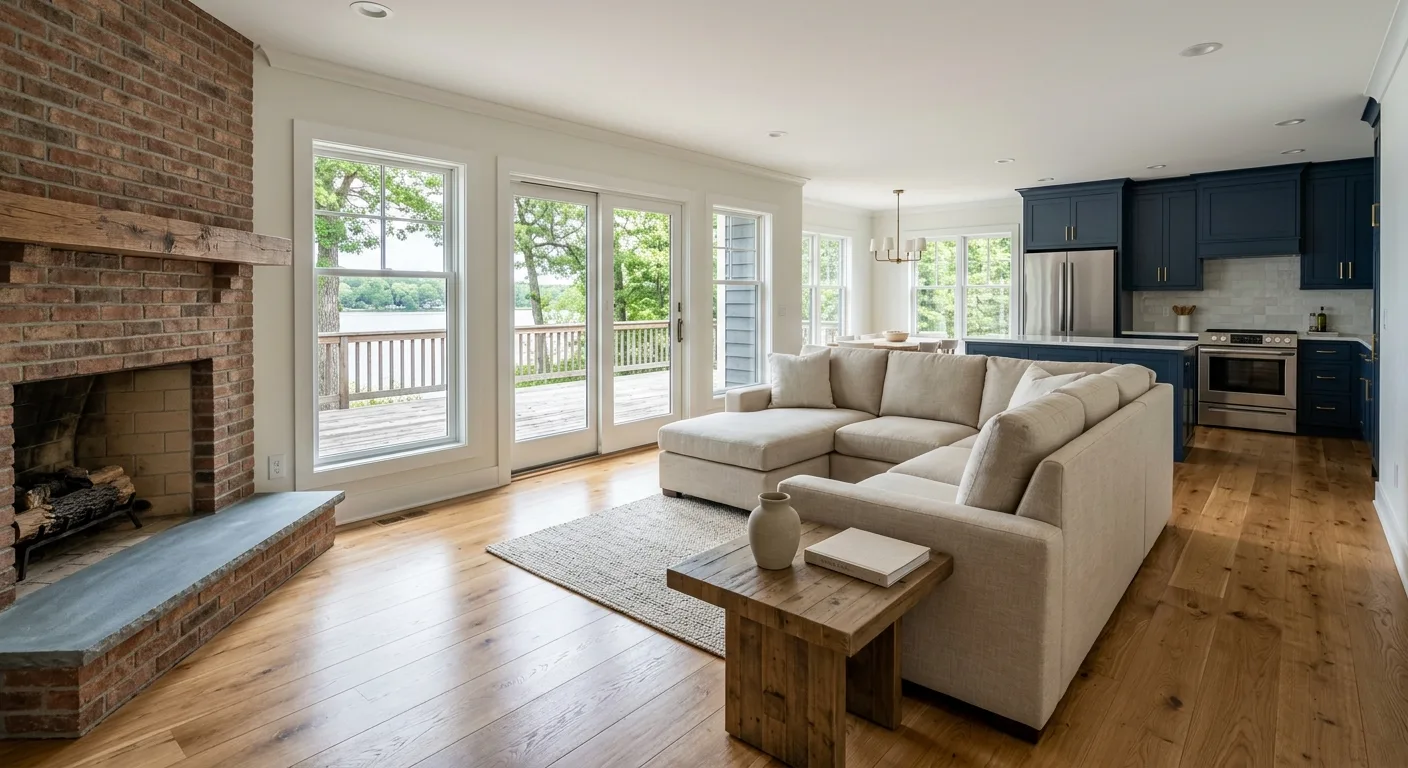
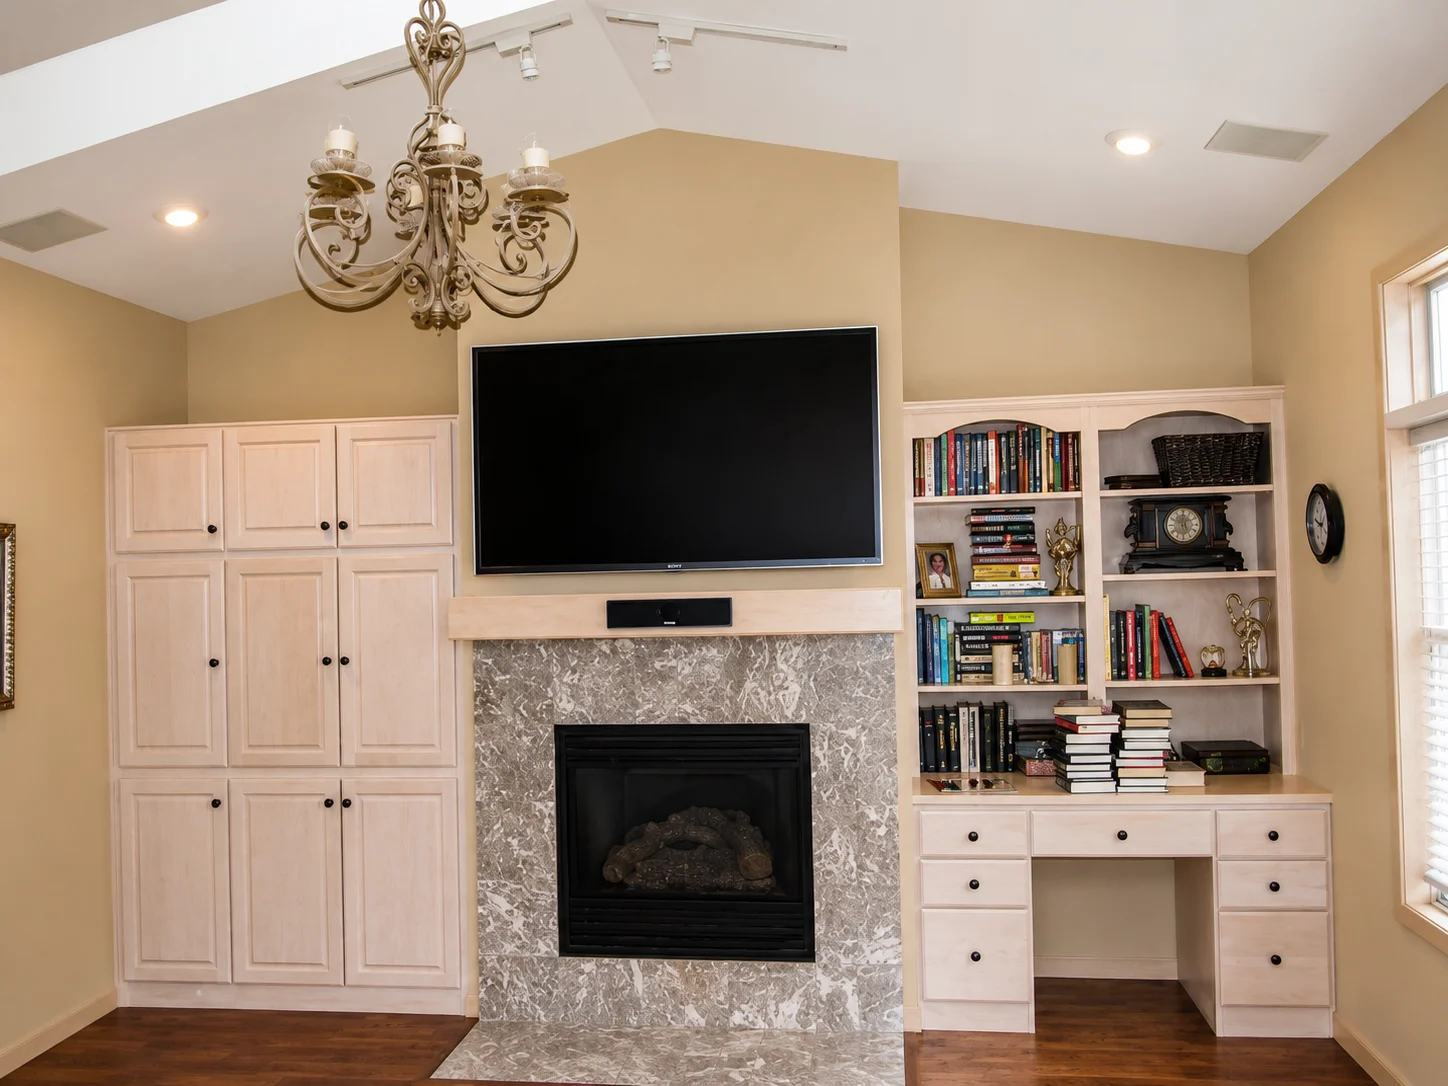
    Built-in cabinetry and shelving finished in a clean painted tone beside a fireplace.

    Best paint for kitchen cabinets

    The best paint for kitchen cabinets is a waterborne alkyd or acrylic enamel, not standard wall paint. Wall paint is built to sit still on drywall. It stays slightly soft, so on a cabinet door it prints fingerprints, blocks (sticks to itself where the door meets the frame), and chips at the edges within a year. Enamel cures to a hard, furniture-grade film that shrugs off washing and knocks. That's the whole reason we run a dedicated enamel process and why our cabinet painting work uses it as the default, never a shortcut. Two more calls that matter in a Minnesota kitchen: prime bare or previously stained wood with a bonding or stain-blocking primer so tannins from oak don't bleed yellow through a white finish, and give each enamel coat a full day to harden before you rehang doors. Skip that cure window and the doors block shut the first time you close them.
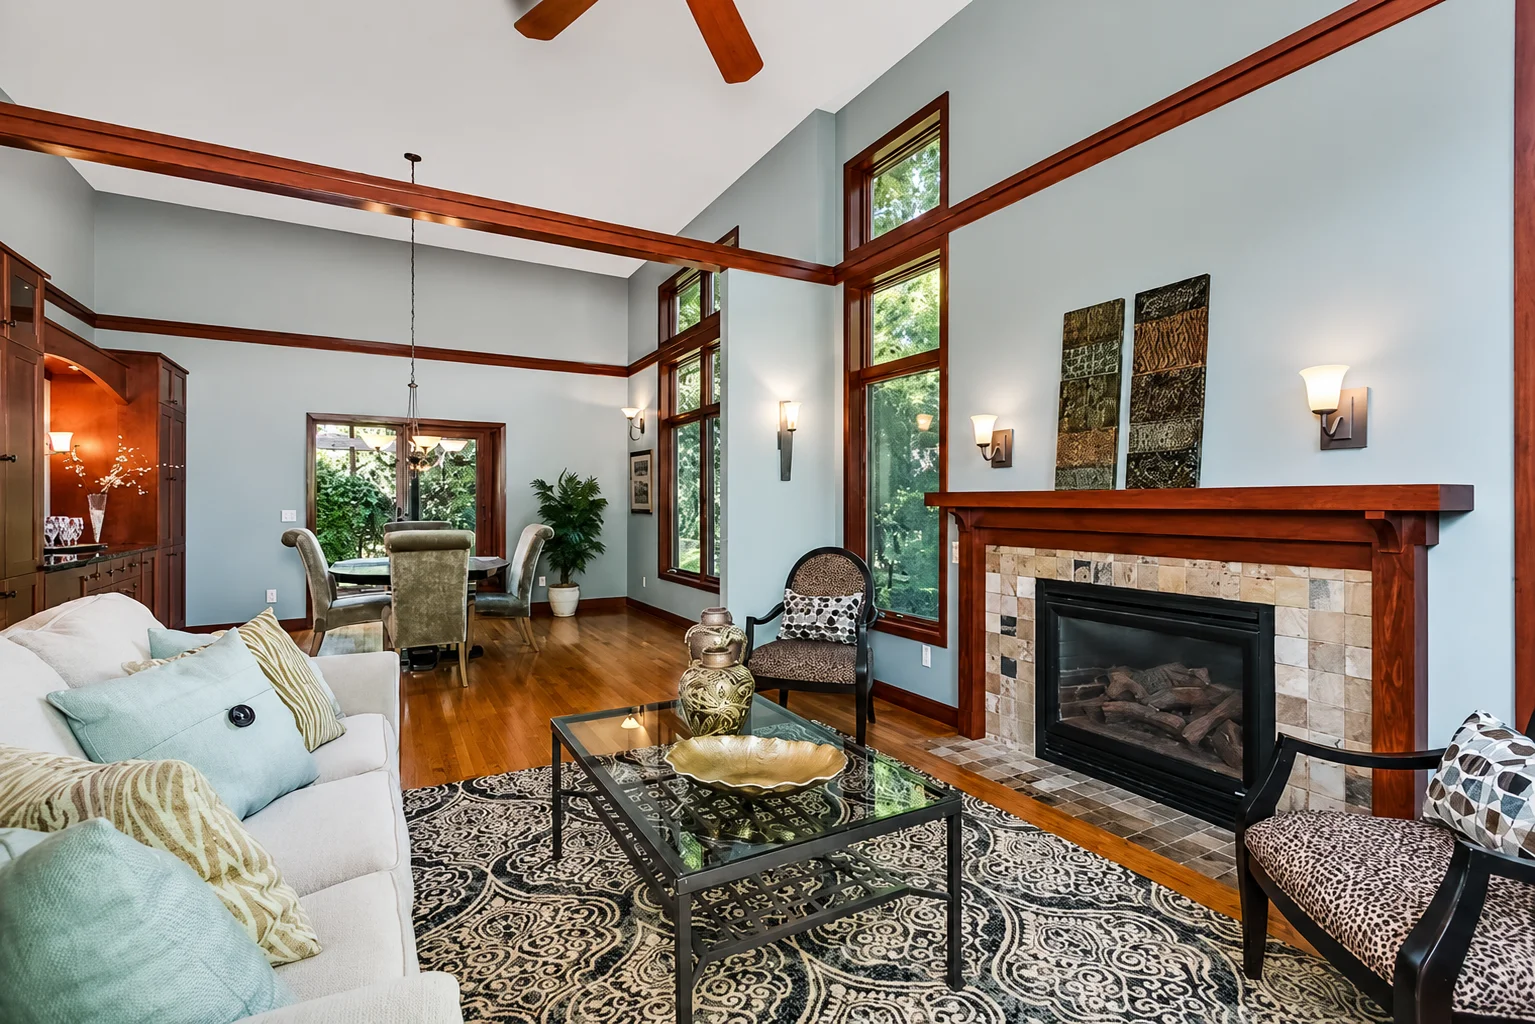
    Living room with rich painted wood trim and a fireplace surround showing a smooth enamel finish.

    Where DIY kitchen cabinet painting goes wrong

    Almost every failed DIY cabinet job we get called to fix traces back to one of four mistakes. Skipping the degrease so the paint never bonds. Skipping the scuff-sand so the primer has nothing to grip. Using wall paint instead of enamel so the finish stays soft and chips at the handles. Or brushing and rolling a finish that shows every stroke on a surface that catches side light all day. Oak grain is its own trap out here. A huge share of Twin Cities kitchens from the 1980s and 90s are honey oak, and if you paint over that open grain without grain filler or an extra primer pass, you'll see every pore telegraph through the white topcoat. None of these are hard to avoid once you know them. They're just invisible until the paint's already on and drying.
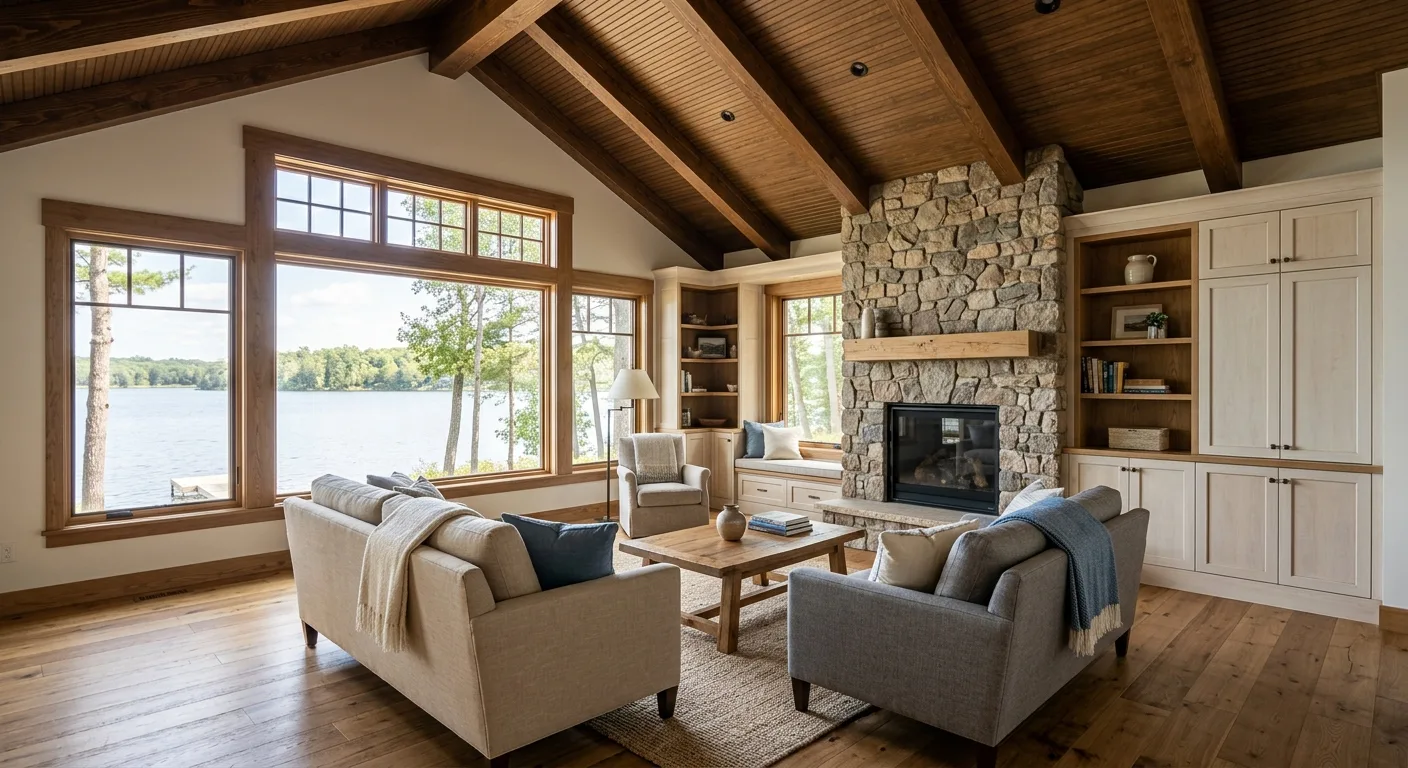
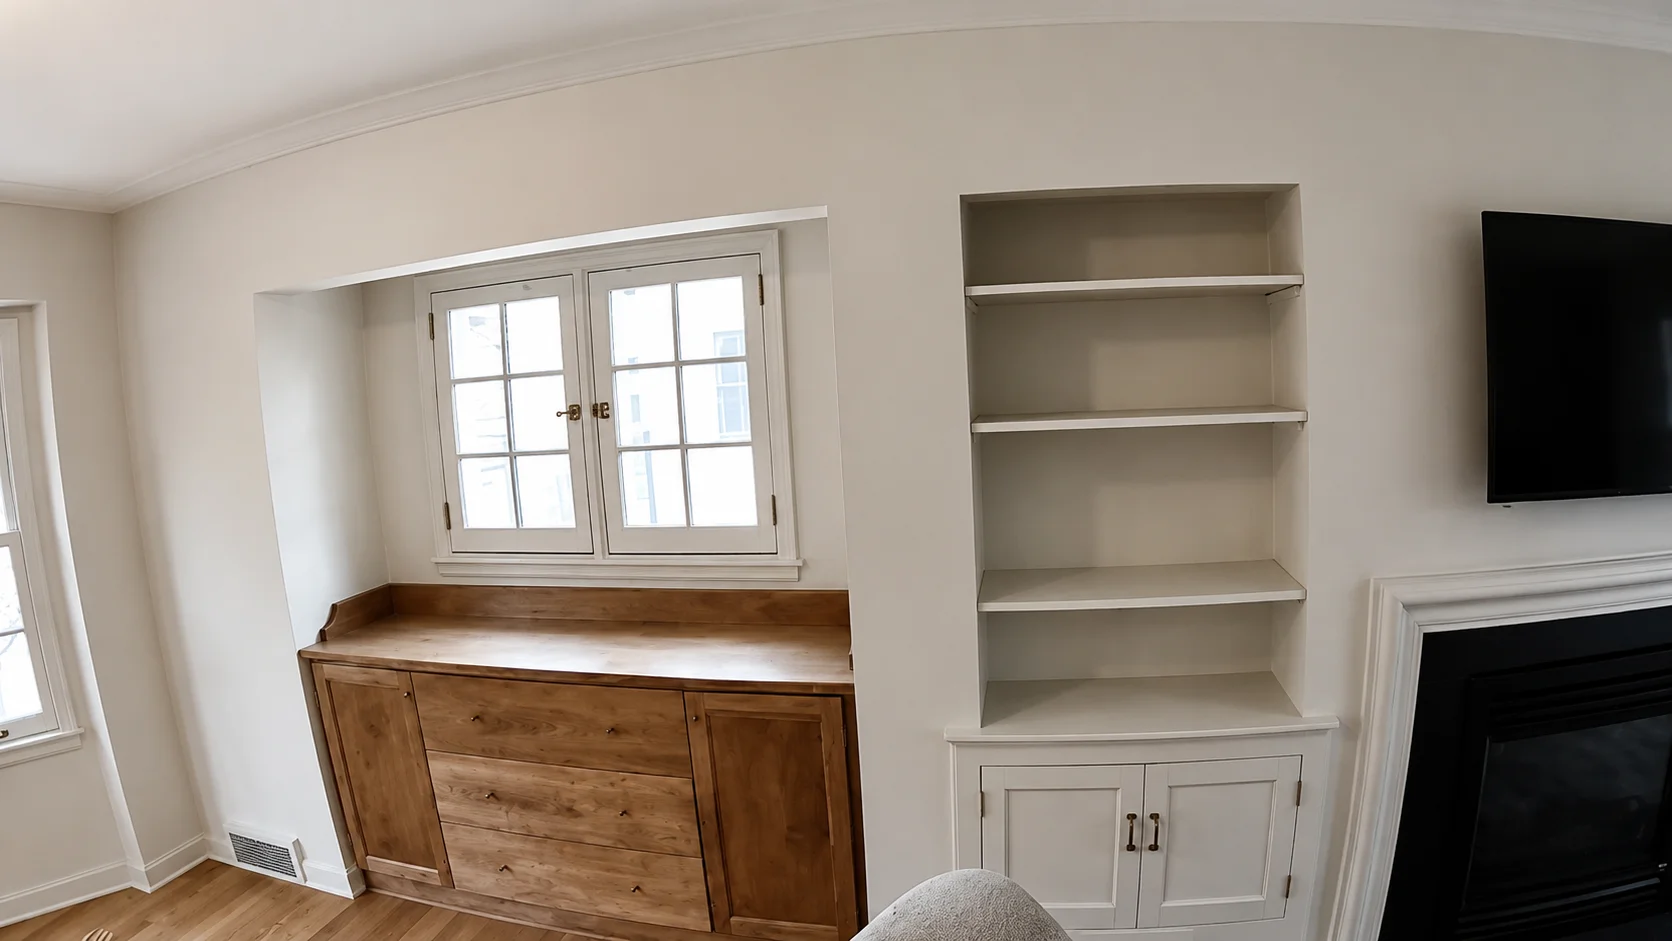
    Custom built-in cabinetry finished in a light painted enamel with integrated shelving and desk.

    When to just hire a pro

    Here's the honest gate, including the part that might talk you out of hiring us. If you've got a small bathroom vanity, a laundry cabinet, or a set of shelves in a low-traffic spot, and you're comfortable sanding and taking your time, paint it yourself. The stakes are low and a redo is cheap. Hire out the kitchen when three things line up: you want a sprayed, factory-smooth finish with zero brush marks, the cabinets are the honey oak that needs grain filling, and you can't lose the kitchen to a four-day project you might have to redo. Spraying is the real dividing line. Doing it right means a dust-controlled space, the right gun and thinning, and enough repetition to lay an even coat, and that's not something most homeowners own the setup for. If you want us to handle it, we'll spray your cabinets with a factory-smooth enamel finish and you keep your weekend. Free estimate, no pressure: (612)-987-1566.
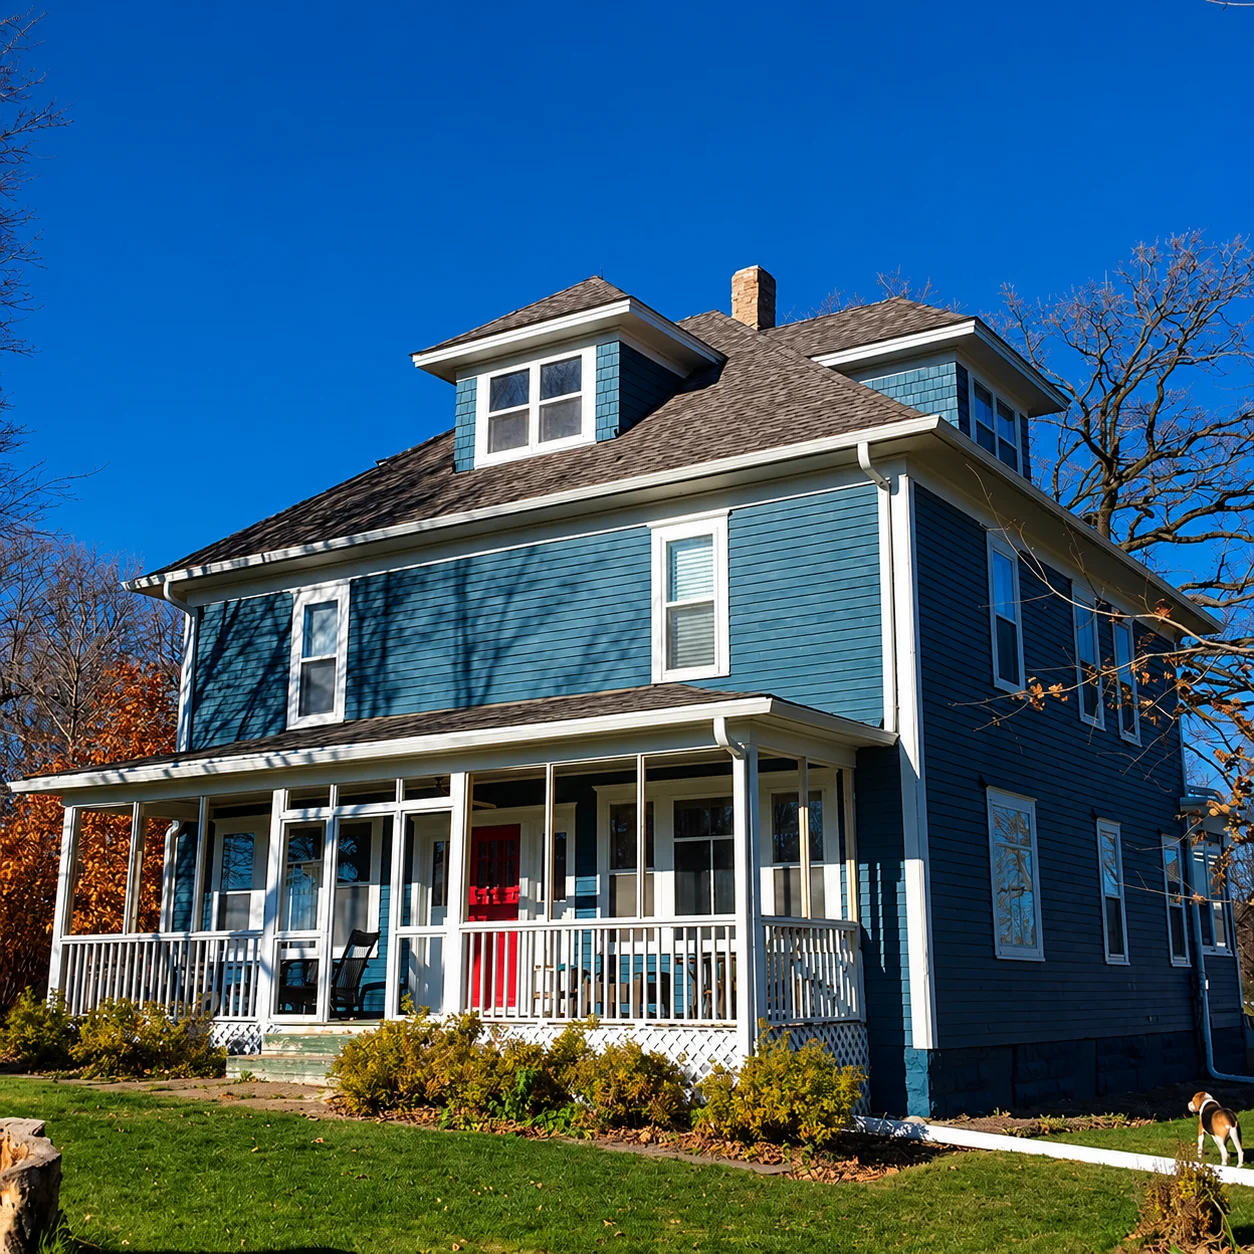
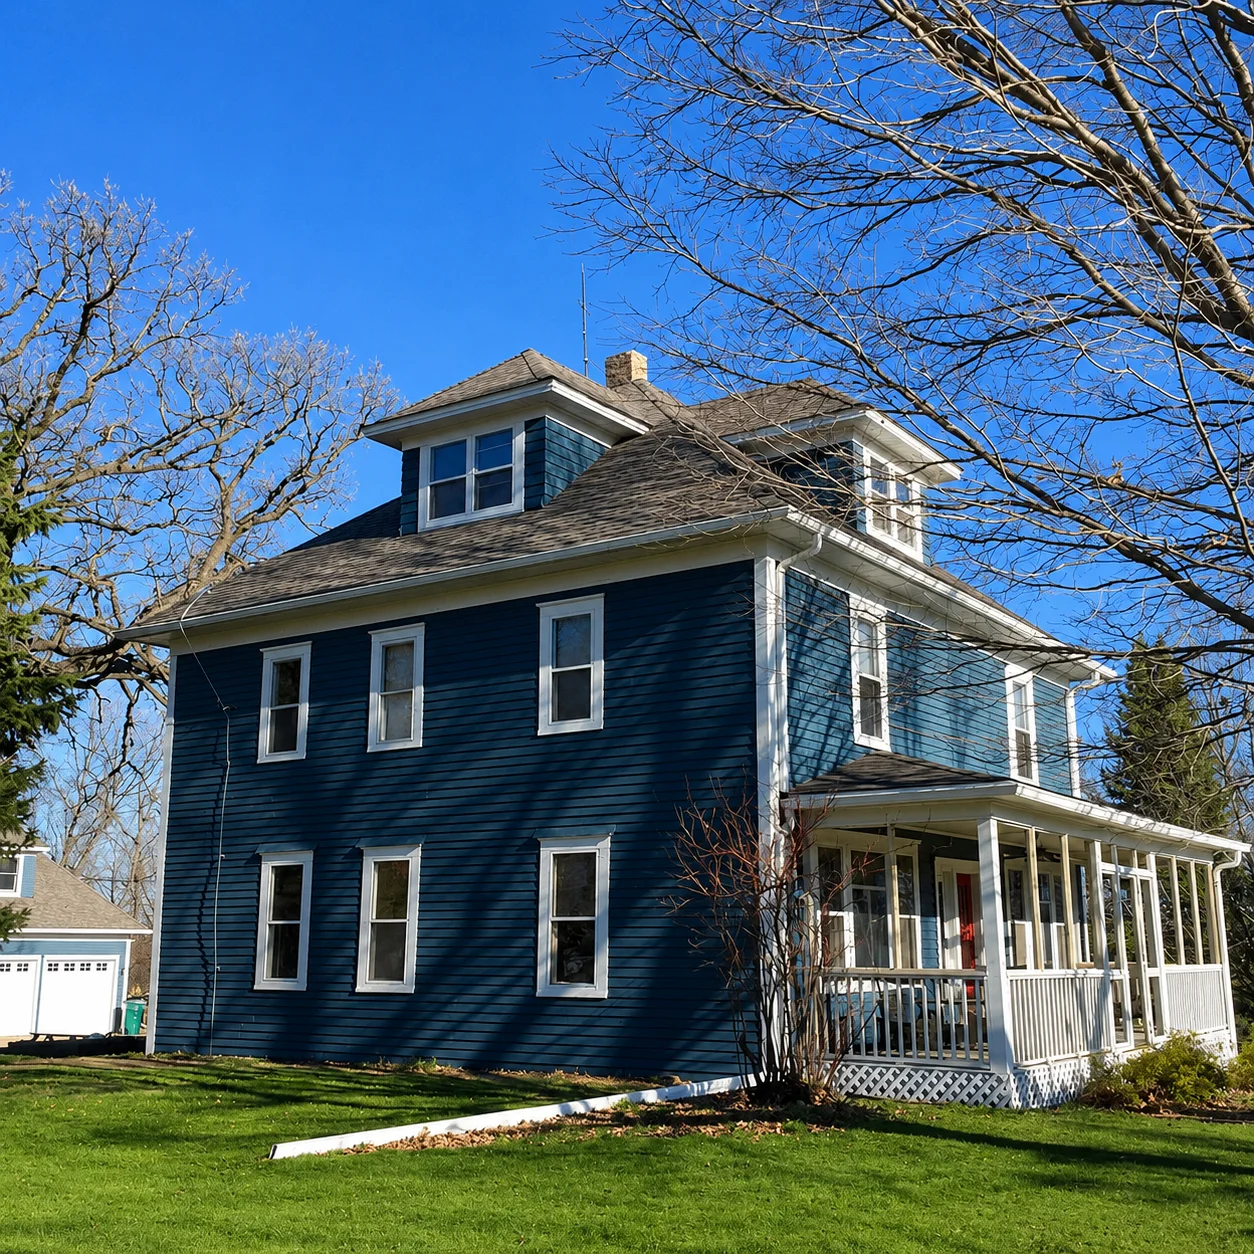
    Two-story home freshly painted in deep navy blue with crisp white trim and wraparound porch.

    FAQ

    Ready to start your project?