Call Now: Free Estimates(612)-987-1566
    How to Remove Old Wallpaper Without Wrecking the Drywall Underneath
    ← Back to Blog

    How to Remove Old Wallpaper Without Wrecking the Drywall Underneath

    August 14, 2026 Mike Webster

    The honest version of a job that looks easier than it is

    To remove old wallpaper without wrecking the drywall, let the paste release before you scrape: score, soak, wait, then pull. Webster's Quality Painting has done Twin Cities interior work since 2000, and the honest truth is that pulling paper is the easy 30 percent. The other 70 percent is the paste haze, the torn drywall facing, and the repair, which is where most DIY wallpaper jobs go sideways. Below is the exact sequence and the line where you should call a pro.

    The part most guides skip: the wall behind the paper is a mystery until the first strip comes off, and that mystery decides everything. If the drywall was primed or sized before the paper went up, removal is usually clean. If someone hung paper straight onto bare, unprimed drywall, which is common in fast 1990s builds around Lakeville, Burnsville, and the outer-ring suburbs, the paste bonds to the paper face of the board itself. Pull it and you tear the board. That single condition is the difference between a one-day strip and a skim-coat repair, and you can't see it from the front.

    The best way to remove old wallpaper: score, soak, scrape
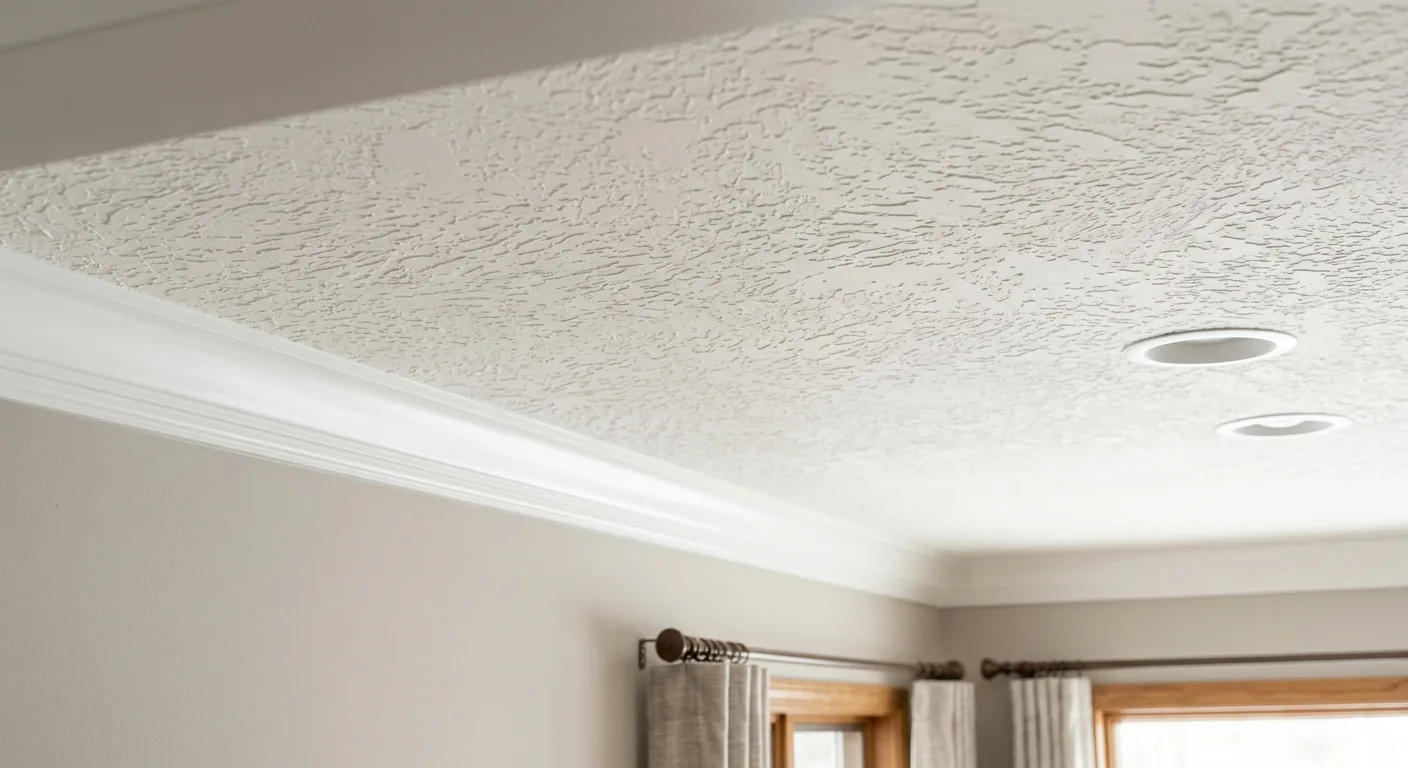
    The best way to remove old wallpaper on most walls is score, soak, then scrape, in that order, and never rushing the soak. Start by testing a corner: try to dry-strip it, because modern strippable and vinyl papers are built to peel off in whole sheets, and if yours does, the rest of the job gets much easier. If it won't peel dry, run this sequence and don't skip steps. First, protect the room: kill power to outlets on the wall, drop plastic on the floor, and tape it to the baseboard, because wet paste running down onto trim and carpet is the mess that turns a strip into a cleanup nightmare. Next, score the paper. On non-porous vinyl or painted-over paper, run a scoring tool in small circles so the solution can actually reach the glue behind the face, and press light, because the tool is meant to perforate the paper, not gouge the drywall. Then soak and wait: roll or spray warm water with a wallpaper-removal additive across a section, let it sit 10 to 15 minutes so the water dissolves the paste, and do a few square feet at a time so nothing dries back out. Scrape at a low angle with a wide 4 to 6 inch broad knife held nearly flat, and let the paper release. If it fights you, it hasn't soaked long enough, so re-wet and wait rather than prying. Finally, wash off the haze: once the paper and backing are off, the wall still carries a film of old paste, and that gets sponged off completely, because paint will not bond over dried wallpaper paste and it flashes right through a finish. That's the honest workhorse method, and it's the same one we reach for first on a job. Not sure your walls are candidates for a clean strip? Call Mike at (612)-987-1566 and we'll test a corner before you commit a weekend to it.
    Drywall skim-coated and sanded smooth after wallpaper paste and torn facing were cleaned up.

    Does wallpaper stripping with fabric softener actually work?
    Wallpaper stripping with fabric softener does work, and it's the cheapest thing in this article, but it has a real limit worth naming before you buy a jug. The mix is simple: roughly one part liquid fabric softener to two or three parts hot water in a spray bottle or garden sprayer. The softener's surfactants help the water penetrate the paper and break down water-soluble paste, which is genuinely most old residential paste. Think of it this way: fabric softener and a wallpaper steamer are after the same thing, breaking the paste's grip, and softener is just the slower, gentler version, which on drywall is usually a feature and not a flaw. It works well on porous, older paper on plaster, on single layers, and on the paper backing left behind after a strippable top layer peels off. Score the surface first if the face is vinyl or the paper's been painted over, or the mix can't reach the glue at all. It falls short on heavily glued paper, on multiple stacked layers, and on modern washable vinyls that shrug off water entirely, and those need heat. Here's the tell: if you spray, wait a full 15 minutes, and the paper still won't budge, don't keep soaking a wall that's clearly telling you it needs a steamer. That's the moment to switch tools, not to force the scraper.
    Primed interior wall ready for fresh paint after old wallpaper was removed cleanly.

    How to remove a wallpaper border without gouging the wall
    Removing a wallpaper border is the same soak-and-scrape logic on a narrow strip, but two things make borders their own headache: they're usually stuck up high at the ceiling line where you're working off a ladder, and the border adhesive is often heavier than the paste on full-wall paper. Score the border lightly, soak it with warm water or the fabric-softener mix, and give it the same 10 to 15 minutes before you touch it. The specific trap with borders is the drywall paper tape at the ceiling corner. Steam or over-soak that seam and you can lift the tape and the joint compound with it, and now you've got a corner crack to patch instead of a clean line. Keep the water on the border itself, not driven up into the ceiling joint, and work the broad knife along the length of the strip rather than jabbing at it. If the border was hung over paint, it usually comes off cleaner than full paper did. If it was hung on bare drywall, expect some facing to come with it and plan on a light skim. Either way, the wall gets the same paste wash-off before any primer goes on.
    Finished interior wall painted after the old wallpaper was removed and the drywall repaired.

    The 26-year lesson: patience over force, every time
    After 26 years, the single biggest lesson on wallpaper is patience over force, and it's the one thing that separates a clean strip from a drywall repair. Let the water, softener, or steam release the glue. The second you start prying at bonded paper to save ten minutes, you tear the wall, and now you own a skim-coat job instead of a paint job. Every wall I've had to repair after a rushed DIY strip failed the same way: someone scraped before the paste let go. The tool didn't fail. The waiting did. There's also an honest exception most contractors won't mention because it might cost them the job. If your home is an older Twin Cities house with original horsehair plaster, and the wallpaper is doing structural duty holding a cracked surface together, aggressive steam-and-scrape removal can do more harm than good. That's a walkthrough conversation, not a default strip, and we'll flag it before we start, not after. When a strip does go sideways and the board tears, that repair is the same drywall installation and repair work we use to level a wall gouged during a DIY wallpaper strip, so nothing telegraphs through the new paint. Get a free estimate and we'll tell you honestly which camp your walls fall into.
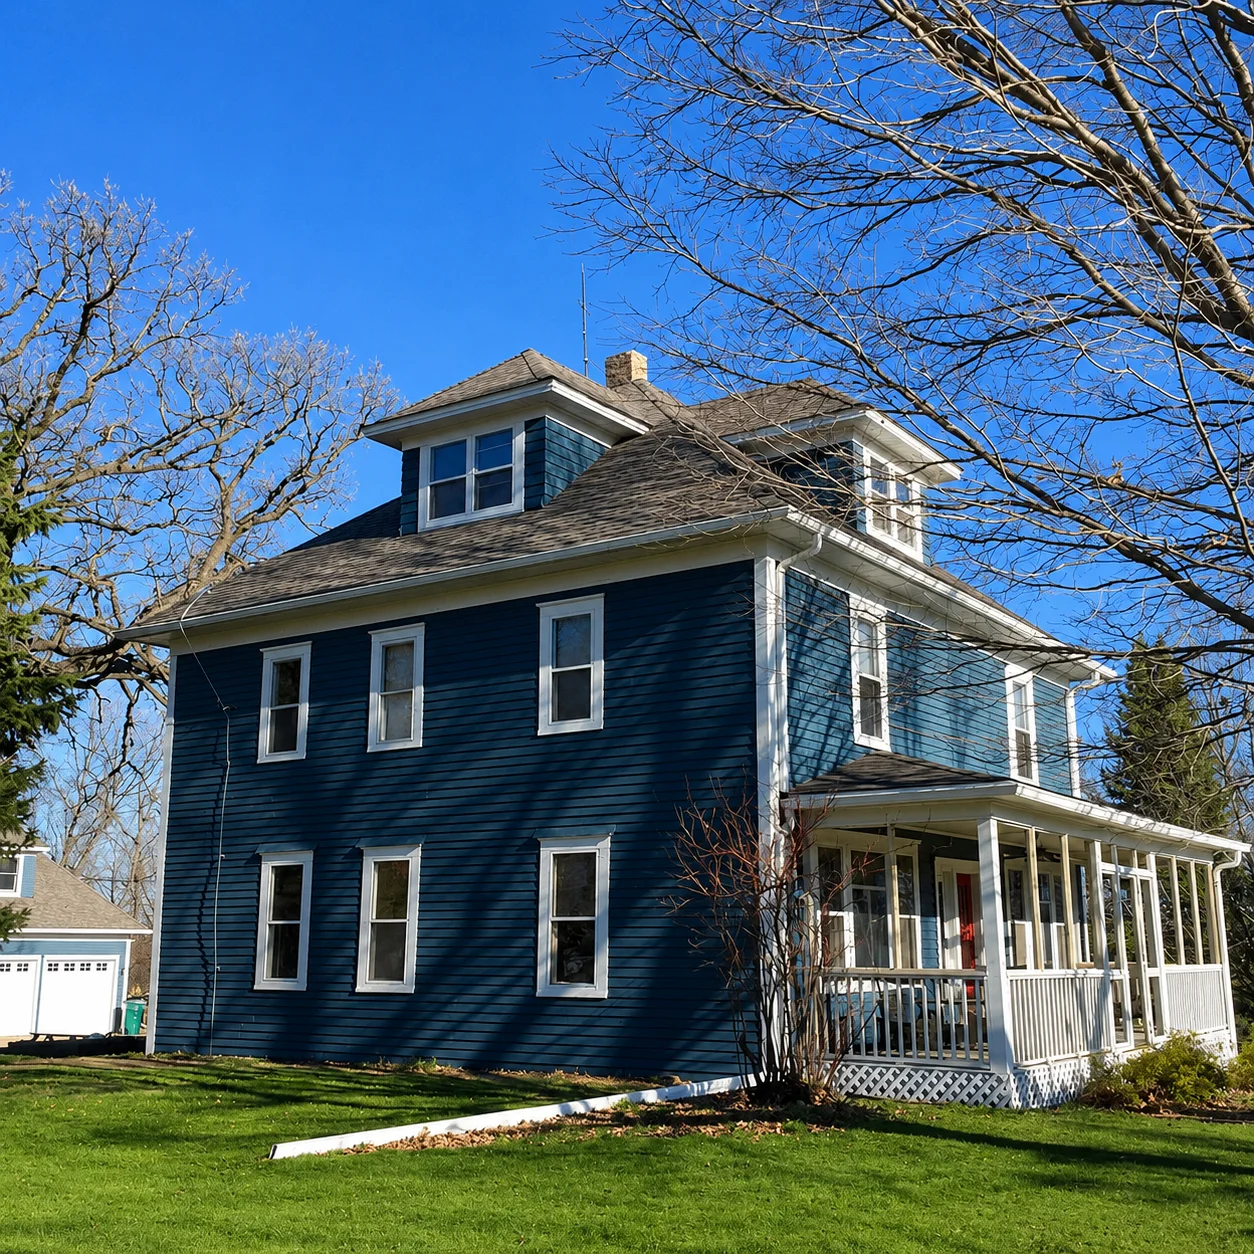
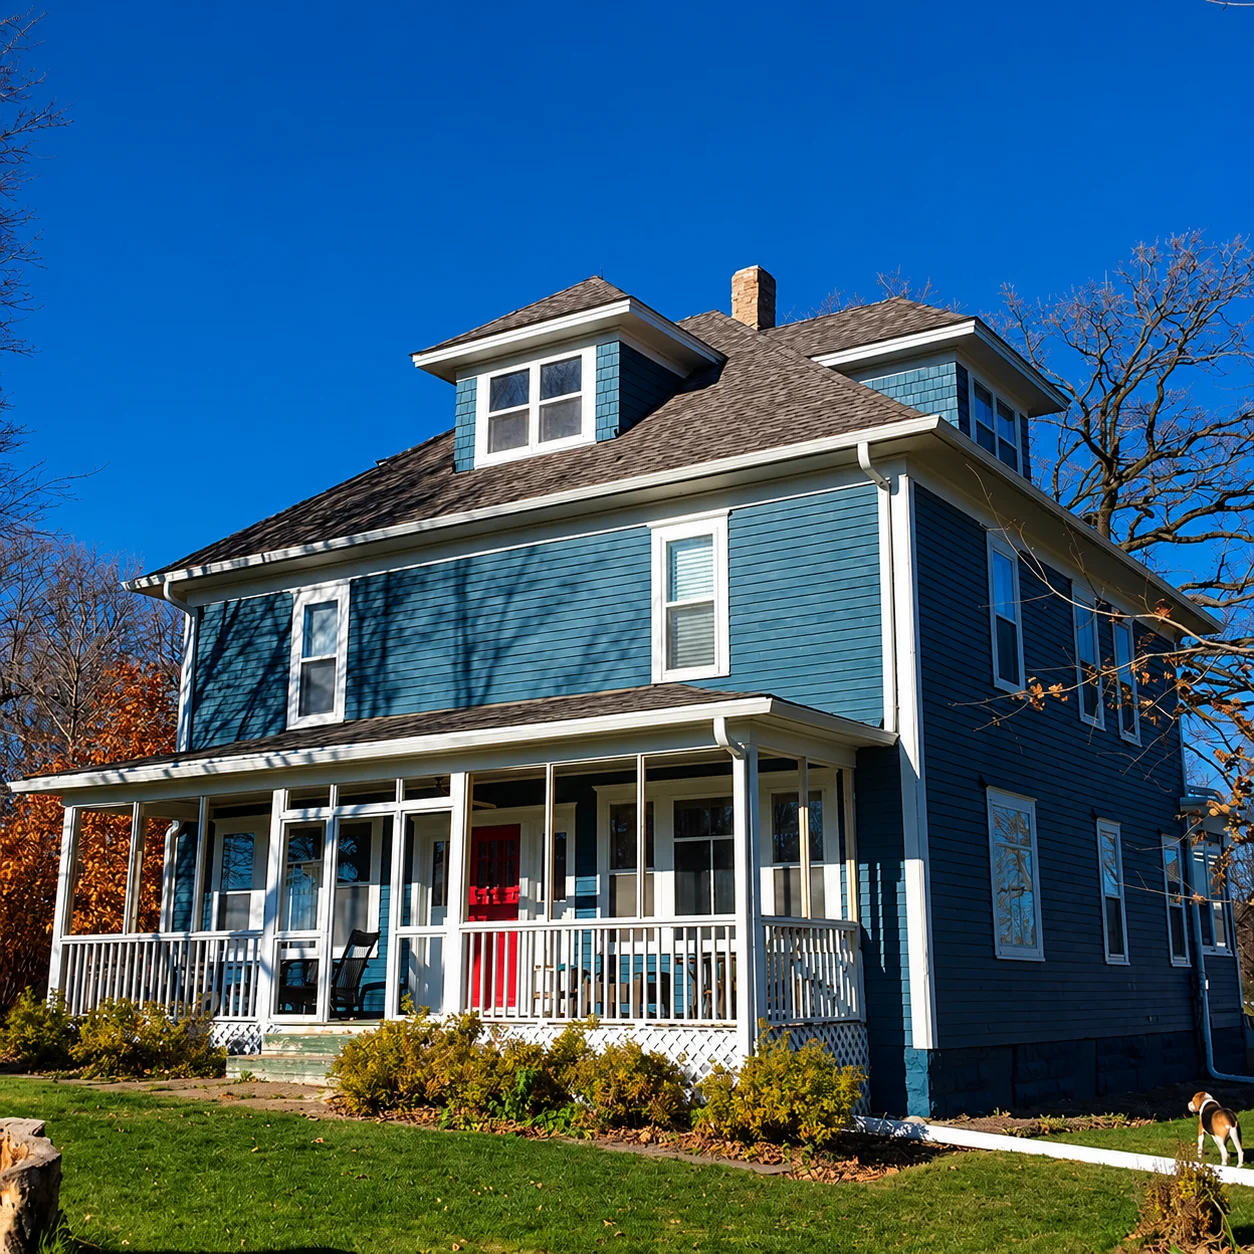
    Two-story home freshly painted in deep navy blue with crisp white trim and wraparound porch.

    When to stop and call a pro

    Here's the honest gate, including the part that might talk you out of hiring anyone at all. If you've got a single strippable layer over primed drywall in a small room, and you're willing to soak and wait, do it yourself, because the stakes are low and the tools are cheap. Stop and call a pro when any of three things show up, because each one turns a paint job into a drywall job fast. The first is paper that was painted over: a coat of paint seals the paper against water, so soaking barely works and steam becomes the only real option, which is exactly where amateurs gouge the board. The second is bare, unprimed drywall: the instant the paper starts pulling up the fuzzy paper face of the board, stop, because every further pull tears more and the wall now needs sealing and skim-coating before it's paintable. The third is multiple stacked layers, because two or three layers of paper and paste is a multi-day job once you count washing haze, sealing torn facing, sanding, and priming. That's where 26 years of doing this the right way earns its keep. We test a section, pick the method your specific wall calls for, and handle the repair-and-prime so you get back a smooth, sealed, paintable wall, which is the whole point of the pro wallpaper removal that leaves a wall paint-ready instead of a mess. We work Monday through Friday during business hours, no emergency service, fully insured, in business since 2000. Free estimate, no pressure: (612)-987-1566.
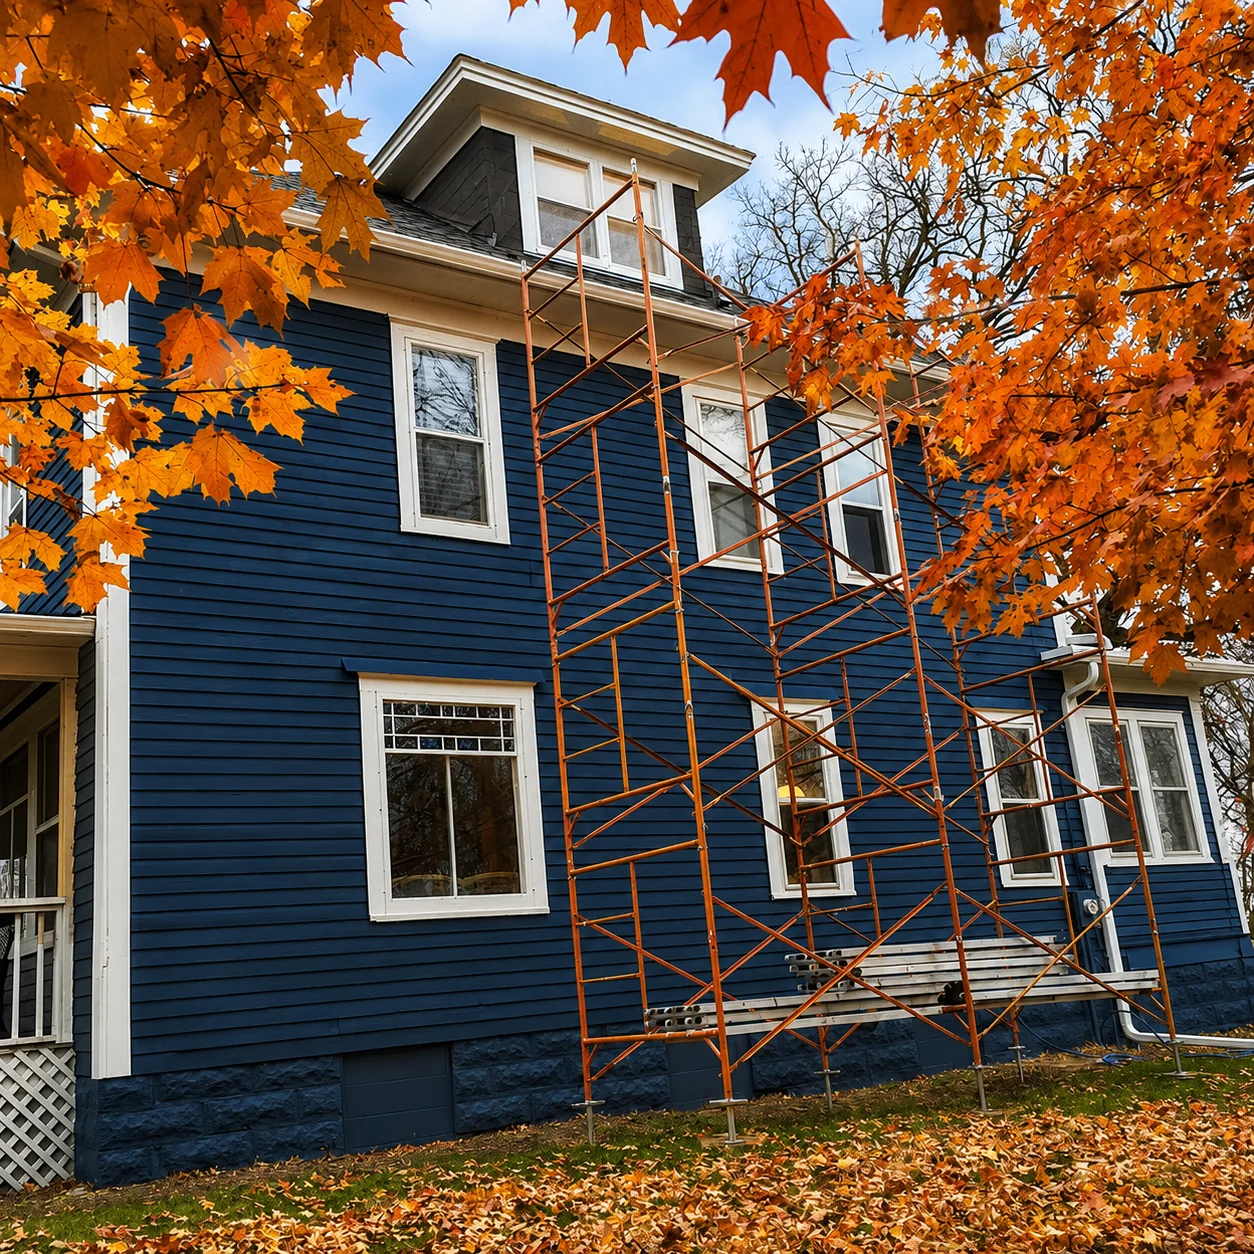
    Webster's Quality Painting crew mid-project on a navy blue exterior repaint with scaffolding in autumn.

    FAQ

    Ready to start your project?